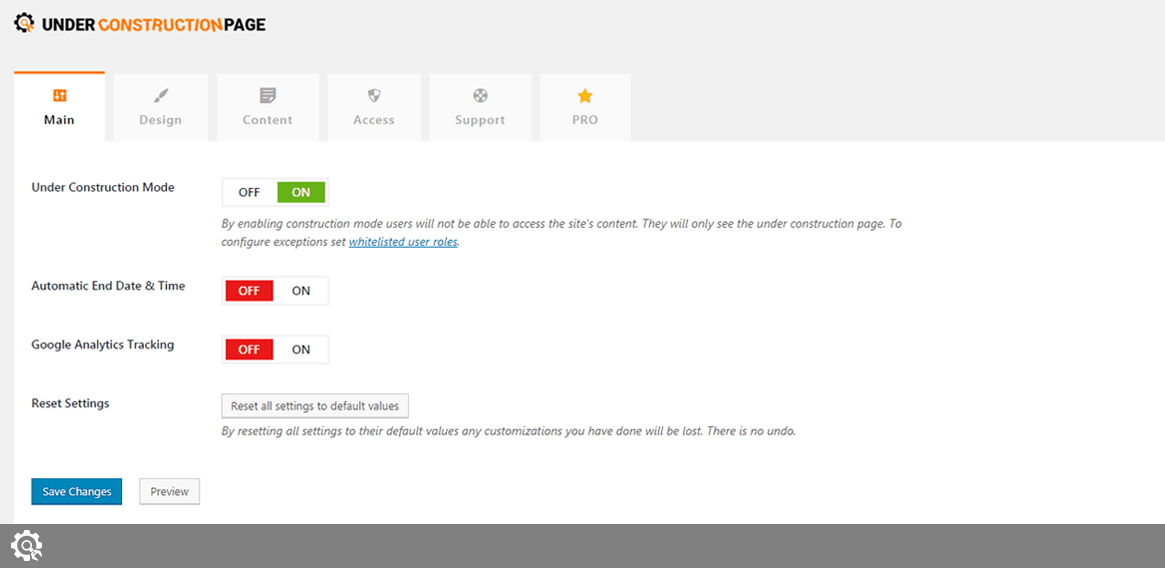
The Main tab holds several options that will help you to get started. From this tab, you can enable/disable the Under Construction Mode, set Automatic End Date & Time, and reset all settings.
Under Construction Mode
Settings -> UnderConstruction -> Main -> Under Construction Mode
When you install the plugin, the Under Construction Mode will be disabled by default. No changes will be done to your website. When you decide to enable the Under Construction Mode, click on the “On” button. The button will turn green. Scroll down, and click the Save change button in order to activate the Under Construction Mode.
Alternatively, you can enable the mode by hovering over the UnderConstruction menu item found in the Admin bar. A submenu will appear where you will be able to switch the button and turn on the Under Construction Mode.
By enabling Construction Mode, users will not be able to access the site’s content. They will only see the under construction page. To configure exceptions, set whitelisted user roles.
If you upgrade to the PRO version, you can change the HTML code as well and decide the status of your under construction page.
Automatic End Date & Time
Settings -> UnderConstruction -> Main -> Automatic End Date & Time
If enabled, Under Construction Mode will automatically stop showing on the selected date. This option will not “auto-enable” construction mode. In order for the option to work, you will have to set the status to “On”.
How to enable Automatic End Date & Time:
- Click the button (it will turn green)
- Click on the little calendar icon
- Choose year, month, day of month, hour, and minute when the mode will end
- Scroll all the way down and click Save changes button
With the PRO version, it is also possible to set the Automatic Start Date & Time.
Google Analytics Tracking
Settings -> UnderConstruction -> Main -> Google Analytics Tracking
UnderConstructionPage allows you to track visits via Google Analytics. Before you can start analyzing visits to your under construction page, you will have to connect your Google Analytics account:
- Go to Google Analytics and log in with your account
- Go to Admin -> Tracking Info -> Tracking Code
- Copy the Tracking ID that looks something like this: UA-51271678-11
- Go back to your WordPress dashboard and navigate to Settings -> Under Construction -> Main
- Turn on Google Analytics Tracking by clicking the button
- Paste the Tracking ID
- Click Save changes button
Please note that it may take up to 24 hours before the visits to your under construction page starts showing up.
Reset Settings
Settings -> UnderConstruction -> Main -> Reset Settings
If you would like to reset the plugin, there is no need for reinstalling. Simply navigate to the Main tab and click Reset all settings to default values button. Since there is no undo option, be sure that you want to reset all settings to the default values.
Documentation didn't help? Contact support!
Customers who purchased and have a valid PRO license - contact our support via the contact for built into the plugin or use the general contact form. If you're using the later method please include your license key in the message or contact us via the email address used when purchasing. This speeds things along.
Using the free version? We have you covered too. Head over to the forums. First look at older threads and if you don't find anything useful open a new thread. Support is community-powered so it can take some time to get an answer. If you need premium support this second - upgrade to PRO.