Content creators have come into their own in recent years. With so many platforms they can publish content, freelancers are more common than ever before. Many of these authors post articles, reviews, columns, etc.
In turn, this makes it essential for those sites to highlight the authors working for them – hence, the author box.
What Is the Author Box and Why Do You Need One?
Nowadays, it’s common to see basic information presented in a fun and comedic way like “is a cat person, so naturally writes about dogs”, or something similar – the goal is for visitors to the page to want to read it.
Think of the author box as the back cover of a book, where you’ll find a short bio about the person who wrote it along with an image. With the web being a multimedia platform, with the image and text, you’ll always find the authors’ social media plugs and potentially links to some of their former work.

Now that you know what an author box is, why you would need one is pretty much self-explanatory. We’ve already touched on it, but to elaborate a bit more. Essentially people will connect to other people, not faceless news outlets, sports sites, or reviews hidden behind pseudonyms.
Letting your readers know your author enables them to make that connection and to follow up on their favorite author regardless of what made them their favorite. It could be the writing style, the most commonly covered topics, relatable background, fame (former professional performers or athletes), or absolutely anything else.
Following the same line of thought, letting people know your authors makes them that much more credible. If you’re a specialized site that deals with distinct topics like engineering or auto-repair, it’s essential to know you’re reading words from a former NASA engineer or a NASCAR pit-stop crew mechanic.
We’re purposely exaggerating to get our point across – the words themselves are equally important as the knowledge of who wrote them. A florist could write extremely competently about being an NFL defensive end, but it wouldn’t have a fraction of credibility as the person who has “been there and done that”.
It’s simple to figure out you should highlight your high-profile writers because they bring in readers of their own (who could potentially leave with the author).
On the flip side, however, there’s also the important task of promoting new authors. Investing into a few of them just coming into their own, you’re betting on them building up a following, and instead of them putting you on the map, the roles become reversed. Sure, the payoff is potentially somewhere down the line, but everybody has to start somewhere, and people usually remember who gave them their first big break.
An author box isn’t just for credibility and promotion. It can be a navigation tool, especially on smaller screen formats where navigation is limited, to begin with. Adding links to previous posts within the author box redirects your readers without them having go about it the roundabout way (title page/category/sort by author, etc.). This goes a long way when said reader is simply looking to burn 5 minutes while riding taking the train to the next stop. But if you just want to change authors on your WordPress site, we found this tutorial to help you do it.
Add WordPress Author Box Without Plugin
Adding WordPress author box without plugins varies based on the number of authors you have writing for you. If it’s a blog with a single author, you can simply hard-code the author box in your single.php file since it’s always the same. On the other hand, having different authors for different posts changes things and requires more work from you. However, doing it like this isn’t recommended, so let’s jump on the next method right away.
Author Box Supported Theme
Now you’re probably thinking – how could I possibly add a WordPress author box without plugin? I don’t know any code. There is a solution that doesn’t require any code at all. If you’re using a theme that supports the author box feature, and there’s a reasonable amount of them out there, you’ll get to add one straight from your dashboard. All that’s required is to add the necessary text and upload an image (through Gravatar).
The first step requires you to navigate to the Users tab, where you can see all the different users present on your site. Hovering over the user name, you’ll be present with options you can access – edit, delete and view.
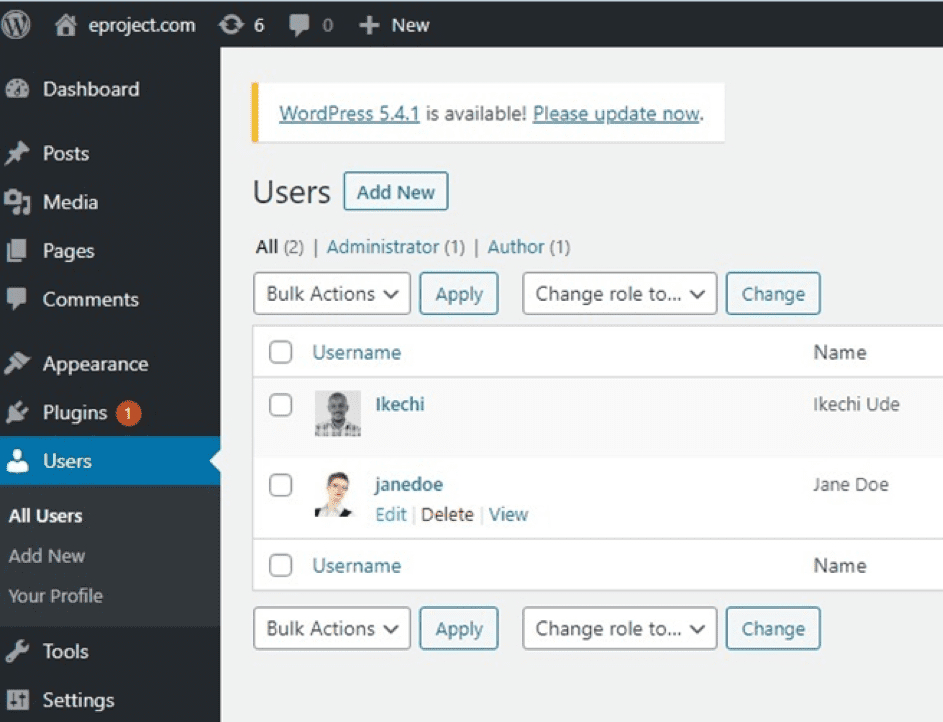
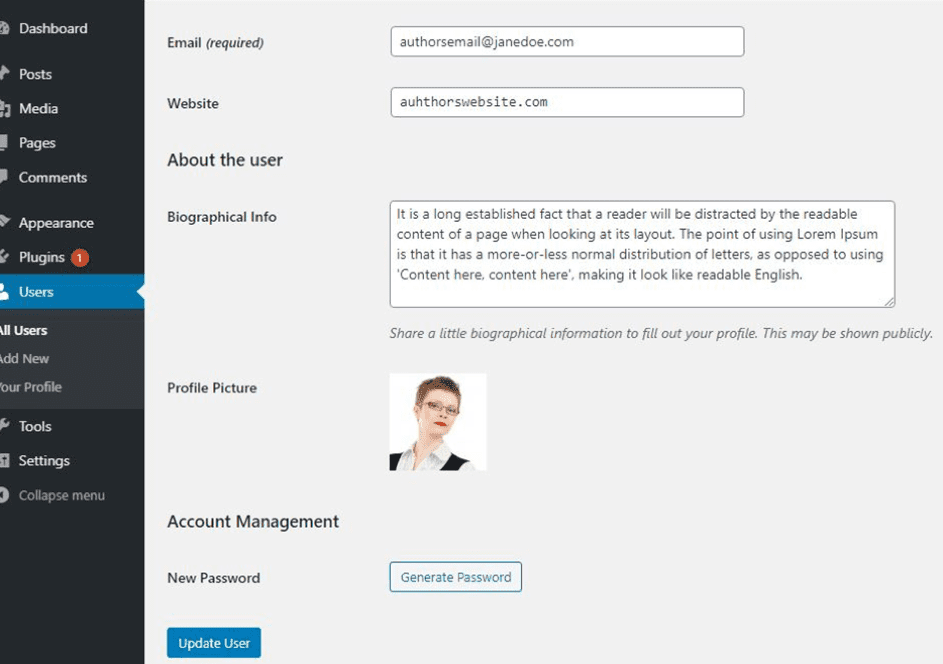
Selecting the “edit” option brings you to where you want to go. This will be the page where you input all the required data. The data you can input includes their email (which is also the only required input), their website, bio, profile picture, and password. There are no differences between adding a user and an author to make things as simple as possible – it’s all viewed as a profile. Once you’re done, click on the “Update User” button, and you’re ready to go.
Using Code
Assuming you’re not using a theme that supports an author box or don’t want to use this method for some reason, much like with everything else regarding WordPress, you can always fall back to coding. To insert new lines of code to your site you’ll need to access the single.php or functions.php file located in the main folder of your WordPress theme. There are three ways you can do this – directly through the dashboard, through an FTP client, or through a cPanel file manager. We’ll focus on doing it through the dashboard, which will also require a Theme editor.
Before starting, you’ll need to complete all the steps covered you’d do if your theme supported the author box by default, i.e., adding the appropriate users. This will be the data we’ll be adding to the posts. After you’re done, you’ll need to navigate to the Appearance, followed by the Theme Editor. Once there, select the Single Post file (single.php). You’ll need to add the code below the “the_content()” function and above the main div container:
<div class="about-author">
<div class="about-author-image">
<?php echo get_avatar(get_the_author_meta('ID'), 250); ?>
</div>
<div class="about-author-text">
<h3>About <?php echo get_the_author_meta( 'display_name'); ?></h3>
<?php echo wpautop(get_the_author_meta('description')); ?>
<a href="<?php echo get_author_posts_url(get_the_author_meta('ID')); ?>">View all posts by <?php the_author(); ?></a>
</div>
</div>
Simply click on the “Update file” button and you’re done. Keep in mind you can further edit the appearance of the author box with CSS code, for example:
.about-author {
background-color: #f8f9fa;
padding: 20px; }

.about-author::after {
content: “”;
clear: both;
display: table; }

.about-author-image {
float: left;
width: 20%; }

.about-author-text {
float: right;
width: 75%; }
Important Disclaimer
As you would expect, messing with any core files will seriously affect the functions of your site. In order to avoid any potential problems for either you or your visitors, it’s important to prepare for the work.
Once you start the process, it’s wise to put your site into maintenance mode temporarily. You could imagine the frustration your visitors will go through if every other click leads them to a dead-end, so limiting access is a much preferable option.
The Coming Soon & Maintenance Mode plugin offers much in terms of specialized “coming soon” and maintenance pages along with simple to use tools that allow you to customize the default templates fully.
When making these types of changes, you have to consider not only the frontend but also the backend. Because even small code changes can impede everything else, it’s important to have backups upon backups ensuring nothing you do will result in long-term issues.
The WP Reset plugin, for example, gives you complete security when making changes such as these.
Using the plugin, you’ll be able to reset your whole site, or just parts of it, reverting it to working order if something goes wrong. Additionally, with the unique Emergency Recovery Script feature, you can fix your site even while it’s down and you are locked out of the dashboard, making no issue too big to handle.
Use a Plugin to Make Professional Author Boxes
To circumvent all the hassle you’d go through by manually adding elements (in this case, an author box), you could opt for simply using a plugin. The main thing you’d get with a plugin is a much simpler interface that makes it much easier to input author boxes while all the code is added automatically in the background without you having to do anything.
All of this means there are fewer chances of something going wrong, which in turn translates to a very small window of downtime limited to only when you’re adding new authors.
One of the premier options for all things author box-related is the Simple Author Box plugin.
Using it, a whole plethora of options open up for you. First of all, the interface is maximally optimized and simplified so that everyone can get the hang of the right of the bat. All the features are laid out in a very logical way. First, you’re required to enter the author’s name, title, text, link and image, and their personal page and social media plugs. With that out of the way, we get to the styling portion.
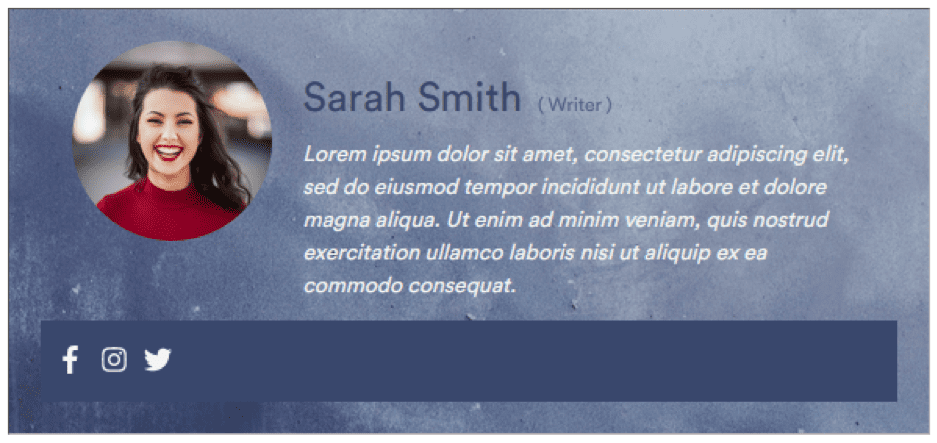
Everything you can think of includes size, position, padding, borders, colors, etc. Essentially, if it’s a visual attribute, you’ll be able to change it, either starting fresh or customizing the provided templates.
Next, you get to change the typography and everything related to the letters themselves, making them in line with your overall theme or something different that makes the box stand out. After that, you get to the even more fine details. Honestly, the whole process runs like a step-by-step setup wizard where it’s pretty hard to make a false move.
Granted, you would be able to get most of these features with some basic coding knowledge, but some advanced features would really test your coding skills if they were done manually, but with Simple Author Box, they’re reduced to a couple of clicks. Take, for example adding multiple authors to a single post, done in synch. The same goes for co-authors and guest authors.
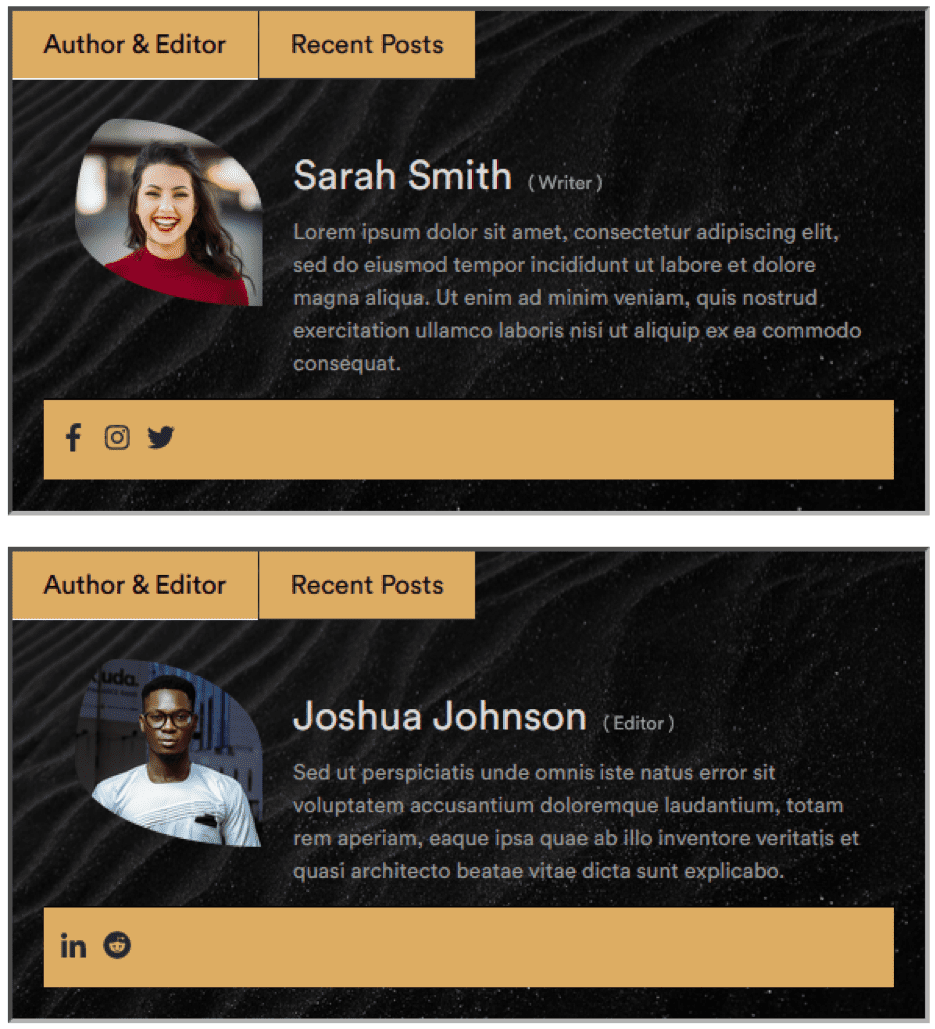
With code, everything that’s a break from the “standard author” routine will become a project to complete, so why bother when there’s such an incredible solution out there.
Furthermore, going into more technical details, let’s dig a little deeper. All the author boxes allow for direct image uploading, which relates to faster loading times; every box is mobile-friendly i.e. automatically scalable to any screen size; widgets are available to showcase your authors all in one place and much, and there’s much more which you’ll inevitably learn as you get more acquainted with the plugin.
Considering all that, it’s worth mentioning that the plugin isn’t bloated, all the features are spot on, and there isn’t an overabundance of things you can do – the measure is just right.
Summary
Creating a WordPress author box without plugin is doable, with even basic coding understanding or accepting a theme that supports the feature. The problem is unless you’re good at it, you’ll spend a lot of time and, in return, get something rudimentary that would probably be considered just a template otherwise.
Using a plugin like Simple Author Box, you’ll get the job done quickly. The result will be leaps and bounds ahead of what you could create from scratch, both in visual terms and available features. The math is relatively self-explanatory. Get yourself a plugin and yourself the hassle.