When you’re running a site that requires direct interaction with your visitors such as web shops, various services (bank, phone company, travel agency etc.) or something similar it’s paramount to make it so that your visitors have “direct line” to your support staff.
Back in the day, you would usually send a mail, or fill out a support ticket, but nowadays when we have less and less time those practices are becoming obsolete.
The easiest way to do this is by providing your visitors with a platform they’re already familiar and comfortable with. Nothing epitomizes this as a chat box/window. Anybody growing from the nineties onward has had experience with using chats in one form or another. They’re simple, real-time and provide the arguably most effective solution for direct contact other than calls.
Over time this type of interaction has evolved to a state where SMS (in its traditional sense) is also obsolete, replaced by various messaging apps. One of the most popular of those is WhatsApp and here we’re going to show you how you can use the WhatsApp Chat plugin to improve your relations with your visitors.
Chat anywhere, anytime
The WhatsApp Chat works similarly to any other direct chat option you might encounter on sites. The selling feature is the WhatsApp integration, just as the name suggests. This means your visitors will be able to reach your staff on their phones in an app they, most commonly, already use.
On the other hand, your staff will not be limited by things like offices, or computers to get back to them. Theoretically, they could be lounging in the park solving problems for your visitors on the phone, all the while enjoying the fresh air.
You’ve probably already noticed, since it’s a running theme at this point, that a plugin like this is all about speed. Your response time will go down significantly and with it, your visitor satisfaction will go up. A happy visitor is a returning visitor after all.
Set it up
Now that you have a good idea of why you should use WhatsApp Chat, it’s time to know how you can use it. We’ve already mentioned that it works similarly to other online chats (aside from linking you to WhatsApp) and if you’ve ever set up a “regular chat” this should be familiar.
Button configuration
The first step is to configure your help button. This is the chat link that’s displayed on your site and how your visitors will be able to contact you.
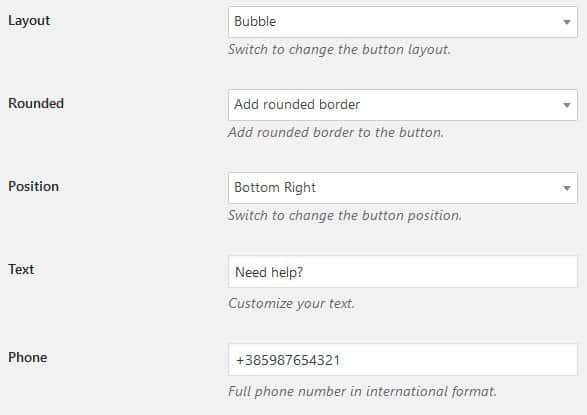
General options for your chat box button
These are just the general features, like the shape and position of the button as well as text that’s displayed and, of course, the primary number to which the chat forwards the queries. Try to make the text as simple as possible since this takes up valuable space on your page – you’ll want it to be seen, but not to cover up any other content.
The next thing you’ll need to pick out is the visual icon for your button.
Choose one of many icons to use with your button
As of writing, there are 48 different icons (they aren’t all included in the above picture) to choose from. Any of these can be a nice addition to the visual identity of your site, so even though it’s tempting to choose one at random, you should put some thought into it.
The final thing you need to set up is the message that will be displayed when someone opens up the chat. Again try to keep it simple, it’s just a “hello message”, so don’t overthink it. If you’re so inclined, there’s also the option to leave a small nod to the developers just below the button. This is optional but will surely help out the devs.
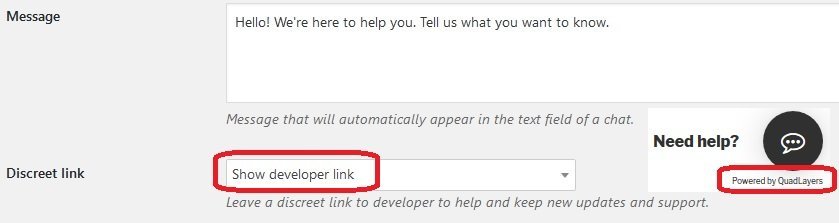
Set up the default greeting message when a visitor contacts you
Opening the chat
You’ve got the button just right, but now you need to configure how the plugin acts once it’s used. The first feature is probably also the most important one. You’ll have the option of implementing a contact box.
If this is enabled your visitors will be able to contact specific staff members – very useful if you have staff support from various departments (finance, sales, technical, etc.). Something like this removes all the hassle with forwarding visitors to other departments which, as you probably know, can be annoying.
Naturally, if you don’t provide department specific support, this feature can and should be disabled. If this is the case, the visitor will, upon clicking the button, be directly transferred to the chat.

Create a header and footer for your chat box
If you’ve chosen to go with the text box, then you’ll have the option to insert a header and footer. You should treat these as a sort of “sticky messages” you want all your visitors to see. A greeting and/or additional contact information is usually used, but it can be pretty much anything really.
Assuming you’ve opted for the contact box and do have various agents ready to respond you’ll first need to add them to the contacts list.
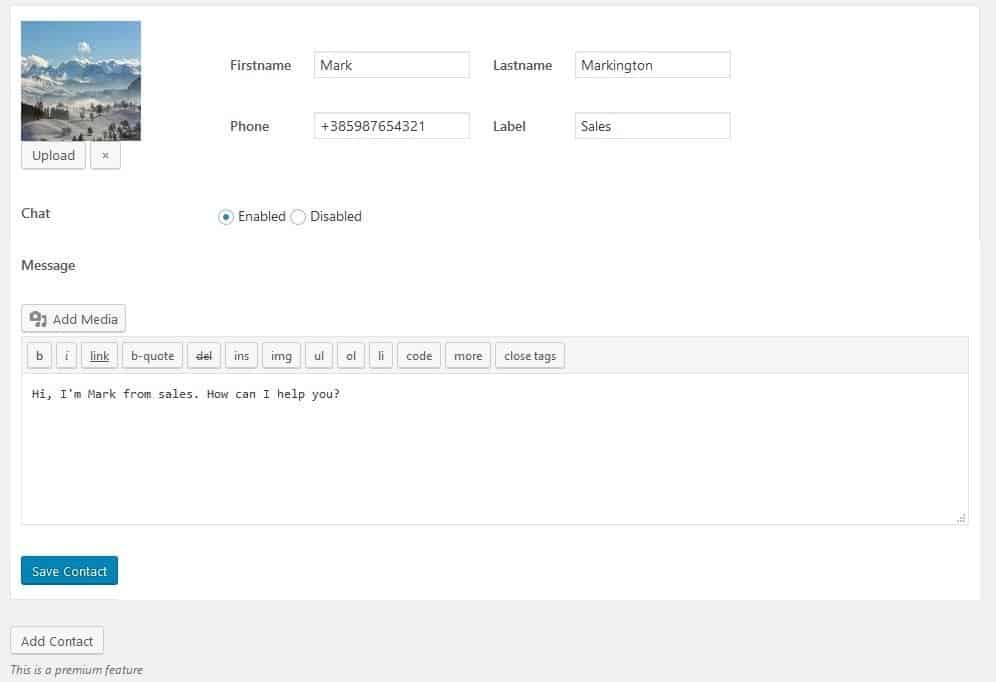
Add as many contacts as you need
The great thing here is that each contact has its own options that supersede the general options we’ve covered at the beginning. This means their own number, greeting message, and department label, making contacting a specific agent easier than ever.
You’ll be able to add as many contacts as you need, so every agent can be displayed in one place. A feature like this helps not only when a visitor wants to contact a specific department. It also helps when visitors have repeat enquires, allowing them to contact the same person (which is already informed about the issue) every time.
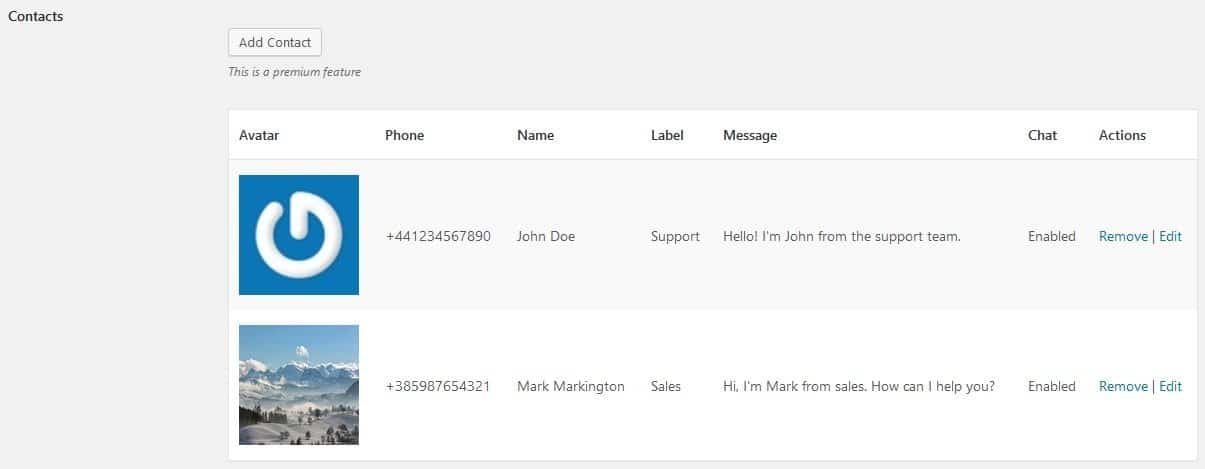
View all the support staff contacts in one place
The final step in rounding up your chat box is the color. This can be in line with your site, a unified theme that blends together, or can be the opposite – something that’s emphasized by the visual contrast. The choice is yours, and you can mix and match the colors for every part of the box.
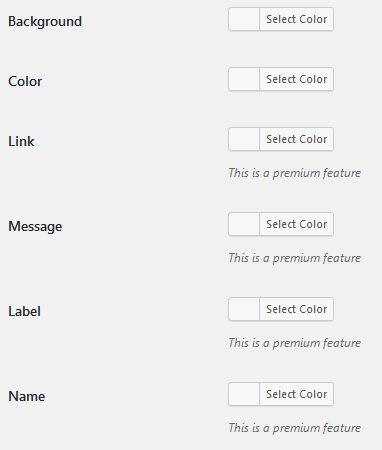
Show your colors to the world
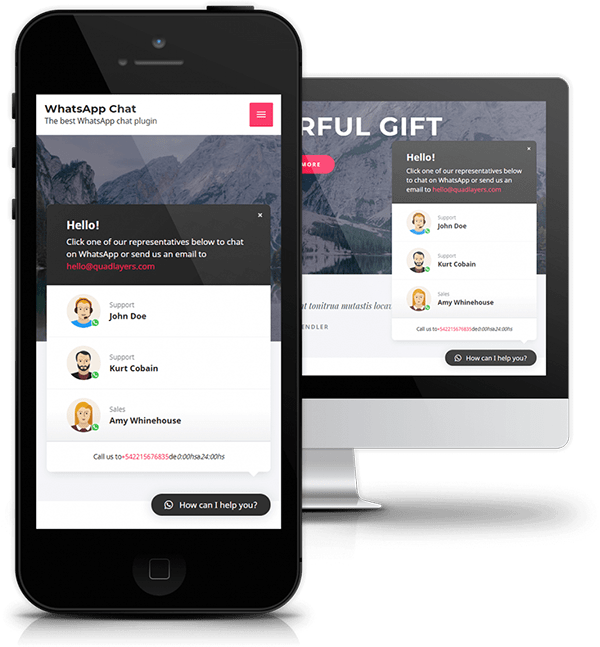
After everything is done your chat box will, from the frontend, look something like the picture below.
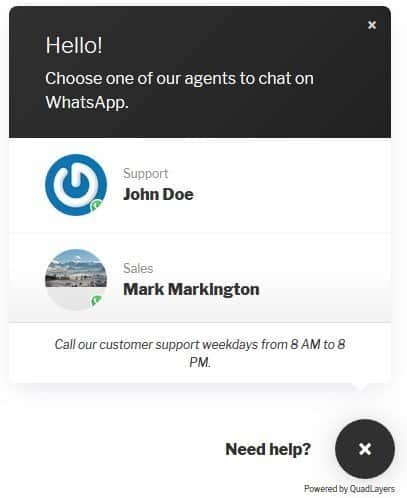
A frontend view of the chat box
Exclusions
Once you have the visual identity down you’ll need to figure out where you want the chat button to appear. Mind that this doesn’t concern the page position (already covered above), but on which pages, posts, and devices. The choice regarding devices is a pretty straightforward one. You’ll just have to choose if the chat button will be available on desktop devices, mobile devices, or both. For your security, it’s usually best to keep it available for both.
Other exclusions are more detailed. The default setting is that the button is displayed on all pages and posts. However, this can be customized to better fit how you want your site to look. First of all, you’ll get to target certain specific pages (home page, search page, 404 error, etc.). Enabling this automatically excludes the chat button from all others.
Going even more specific, you’ll be able to exclude the chat button from specific pages and posts, and even whole categories. This is useful for sites with expiring content for example. No use in providing real-time support for something that’s outdated, so you can remove the chat button from those pages/posts and instead refer your visitors to other types of contact for support.
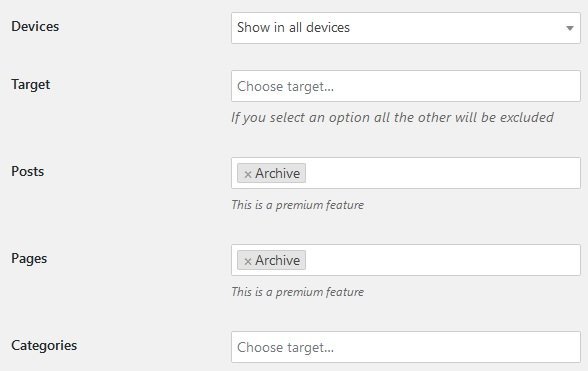
Choose where the chat box will be displayed
Keep in mind that using these features requires a well-rounded underlying categorization system that is very specific and doesn’t overlap. Without ensuring this you can find yourself without the button in certain situations you would want it present.
Summary
WhatsApp Chat provides a better alternative to regular chat services. It can provide you with all the options they can but has an added benefit in the form of integration to one of the most popular messaging services around. Using it will make life easier for both your support staff and your visitors.
To top it off, it’s not even that expensive. All available tiers have access to all the features, the only difference is on how many sites you can use it. This kind of pricing tier construction underlines the fair approach the developers have toward their customers, not locking content behind paywalls. You can check out the whole pricing plan here.
Taking all this into account, there really isn’t a reason not to try give it a try, especially if you’re already using an inferior chat option on your site.
Wow this is a great addition to WordPress, really. I’d like to run a demo right this minute.
Do you think however that WhatsApp is popular in US?