


Earlier, creating a website was not at all easy. You’d have to know HTML and other programming languages to create a website, or you could spend thousands of dollars and hire a developer to make a website for you.
But now, with rapid advancements in technology and the availability of the internet, creating a website is just a piece of cake. Thanks to platforms like WordPress, Squarespace, Wix, and other easy-to-use drag-and-drop website builders.
With WordPress, you can easily create your desired website without being a pro at code.

If you are looking to open an online store, then you are at the right place. In this article, we have provided a detailed step-by-step guide to creating an e-commerce business using WordPress.
Along with it, we are providing the 20 best e-commerce WordPress themes available for free. Incorporating security features like WP Captcha is essential to protect your eCommerce site from unauthorized access and enhance overall security.
Why Should You Use WordPress to Build an E-Commerce Website?

Before we start the article, let me tell you why using WordPress is the best option to create your online store.
Did you know that around 40% of websites are powered by WordPress? It is a free, open-source CMS (Content Management System).
WordPress is the simplest and the most popular platform to create any kind of website, be it a simple photo site, a business site, an e-commerce site, a blog, or even a hobby site.
Below you will come across a 10-step guide that you need to follow to easily create an online e-commerce store using WordPress.
Step 1 — Set Clear Goals and Create a Business Plan


The most important step in this process is to set clear-cut goals as to why you want to start an e-commerce business and what you should do to make it run successfully. If you don’t set any goals and make plans, then the simplest of work will become the most difficult to execute. Sit down with a pen and paper and draft a business plan.
First, jot down your goals as to why you want to open an e-commerce business. Are you starting it to make money? Are you starting to sell your own product or services online? Or are you just starting it as a side hustle?
Once you set your goals, you will need to create a business plan. You can take help from others who already have their e-commerce business and are performing well. By setting your goals and plans, you will have a clear idea as to where your business will reach and stand in the future.
Step 2 — Choose Your Domain Name
After you are done setting your goals and making a business plan, you will need to set a domain. A domain is the unique name of your website that comes after “WWW”. While WordPress is an open-source platform where you can place your domain for free, you can either purchase a domain or use one for free.
There are various downsides to using a free domain, and the worst part is that you will not own the domain. The domain provider will be the owner, and the provider may even cancel your account at any time.
But you can avoid all the limitations by purchasing a unique domain of which you will be the complete owner. You can purchase a domain from various domain providers, among which the most popular and reliable providers are GoDaddy, Dynadot, Namecheap, Bluehost, and HostGator.
The price of a domain usually ranges between $8.88/year to $20/year. But few hosting providers offer a unique domain to you for free for the first year.
Step 3 — Choose Your Hosting Provider


After you select your domain, the next step is to connect it to a hosting provider. There are various hosting providers available, among which the most trusted ones are Bluehost, Hostinger, SiteGround, HostGator, Namecheap, and many more.
WordPress itself recommends Bluehost to its users. As mentioned above, you can get a free domain for the first year from Bluehost or any other hosting provider.
Bluehost or even any other web hosting provider will offer you three kinds of plans:
- Shared Hosting,
- VPS (Virtual Private Server) Hosting,
- Dedicated Hosting.
For hosting an e-commerce website, you should not purchase shared hosting because if any other website in the shared hosting gets hacked, then it puts your website at high risk of exposure.
Using VPS hosting will be the best option to host your e-commerce website. But if you are running low on budget, then you can use a shared hosting plan and later on upgrade to VPS after earning some money.
Step 4 — Setting Up/Installing WordPress
After you are done with the above steps, you will need to install WordPress. You can install it in two ways:
- One-Click Install — The one-click install is the most recommended and the easiest way to install WordPress. Almost all hosting providers today provide one-click installation of WordPress from their dashboard. Let’s take Bluehost as an example. After you sign up to Bluehost and register your domain, go to your dashboard and search for “Install WordPress”, and hit the button. After that, you type in your preferred username and password.
- Manual Install — You can also install WordPress manually by downloading it through their official website. However, it requires you to have some technical knowledge related to FTP, cPanel, and phpMyAdmin and access to your web server for manual installation. You can visit WordPress’s official website to learn how to manually install and set up WordPress.
Once you have installed WordPress and set up your username and password, you can see your website live in your browser. If you open your domain, then you will see a blank WordPress website installed. You can access your admin panel of WordPress by going to YourDomain.com/wp-admin.
Step 5 — Getting an SSL Certificate or Security and Support


It is important to keep your customer’s information safe and secure, and that’s where an SSL certificate comes in. Along with a domain and hosting, you need an SSL certificate to set up your e-commerce store.
An SSL certificate adds a special layer of security to your website so that you can accept sensitive information like your customer’s credit card details, contact number, and much more of such information.
Here is another bonus, various hosting providers such as Bluehost, Hostinger, HostGator, and SiteGround offer an SSL certificate for free.
By purchasing just the hosting, you will get a domain and an SSL certificate for free.
Step 6 — Install an E-Commerce Plugin
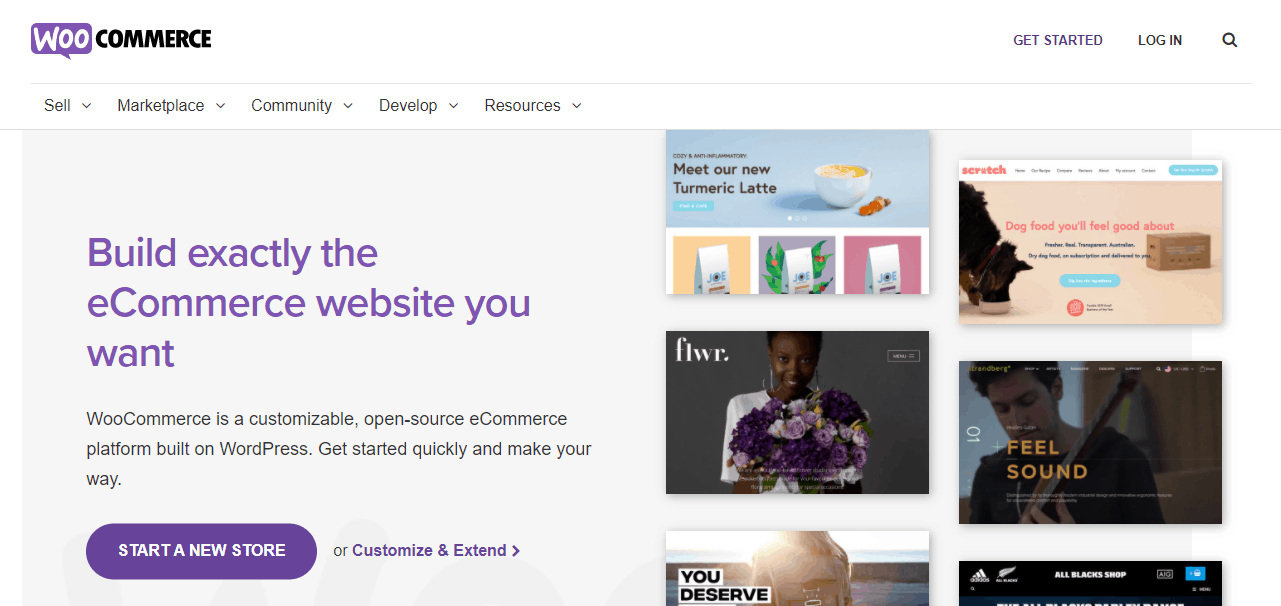
Once you open your WordPress dashboard, you will need to install the WooCommerce plugin.
WooCommerce stands out as the most popular e-commerce plugin, and around 30% of e-commerce stores are built using WooCommerce.

WooCommerce too is an open-source platform where you get a high self customization option. With the help of this, you can turn your website into a fully controlled online store without spending any money. You can also easily configure a WooCommerce discount product to run seasonal offers or flash sales. This feature is great for boosting conversions and encouraging repeat purchases. Disco plugin can be one best option for you.
In this guide, we will walk you through setting up the WooCommerce plugin for your online store.
1. Install and Activate WooCommerce
Once you have logged in to your WordPress dashboard, hover over the Plugins section in the sidebar and click “Add New”. Type and search “WooCommerce” in the search bar and click on “Install Now” on WooCommerce by Automattic. After waiting for a few seconds, click on the “Activate” button.
2. Add Your Business Details
After you activate WooCommerce, it will automatically launch, and you will have to hit the “Let’s Go!” button. In the setup process, first, you will need to add your business details. Select which country your business or store is located and then type in the address along with City, State, and Postcode. Next, set the currency in which you will accept payments and select the type of product you want to sell, a digital product, a physical product, or you want to sell both.
3. Select Payment Options
After adding your business details, the next step will be to choose which payment method you will accept in your store. Select both PayPal and Stripe because both are popular options. Even if you don’t have any accounts set up in PayPal and Stripe, you can still choose them from here and add your account details later on. At this stage, also consider how you’ll handle sales tax compliance – platforms like Numeral can integrate with your store to automate tax calculations based on customer location.
4. Confirm Shipping Options
Next, you will have to set up your shipping rates. You can set a fixed shipping price for each zone or set free shipping charges.
You can also collaborate with UPS or other carriers to get live shipping rates.
5. Choose Complimentary Plugins/Theme
In the next step, you will see the option to select the “Storefront Theme” and the recommended plugins. You can uncheck all of them and continue because you can also add themes and plugins later on. Also, later in this article, we will provide you with the best e-commerce WordPress plugins available for free and the 20 best e-commerce WordPress themes available for free. For now, you can skip this part and move ahead to the next step.
6. Connect to Jetpack
In this step, you will need to activate Jetpack, which is a plugin that is well known for providing powerful features like security, performance, design and marketing tools, and many more other features.
Once you click on Jetpack, you will activate payment setup, automated taxes, and many more other features. You can also skip this step and move ahead to the next and the final step. But we highly recommend you use this plugin. You can install it later on from the Plugins section of your dashboard.
7. Get Ready to Start Selling
In this final step, you will see the options to create a product or import an existing product by transferring a CSV file. Also, you will see a box where you will have to add your email address to receive tips, product updates, and articles to your inbox. You can skip the entire step and click on “Return to your dashboard”.
STEP 7 — Choose a Theme

Once you have installed and activated WooCommerce, the next thing you will need to do is to select a theme for your online store. The theme which you will select should be compatible with WooCommerce. In the 5th step mentioned above, Choose Complimentary Plugins/Theme, WooCommerce recommends using the Storefront theme. However, there are plenty of other e-commerce themes available on WordPress for you to choose from.
Later in this article, we will cover the 20 best e-commerce WordPress themes available for free so that you don’t face difficulty in choosing a theme for your online store.
STEP 8 — Add Product Pages
Before we move on to creating products, it is mandatory to have essential product pages on your site that will be easily accessible to your customers.
To add a page, go to your WordPress dashboard and hover over “Pages” on the left side panel of the dashboard, and click “Add New”. From there, add your page name and describe the page. The essential pages that you will need to have in an online store are:
- HOMEPAGE — The homepage is the essential page where your customer will land first. Creating a good homepage will work best to generate a good first impression on your customers.
- CATEGORY PAGE — This page includes a list view of your products in their respective category or subcategory. The main purpose of this page is to make the customer’s work easier when searching for products and services.
- PRODUCT PAGE — The product page will be the page of the individual product that you want to sell. You can include various elements here like, product pictures, product descriptions, and customer reviews.
On each product page, you can add a call-to-action like “Add To Cart”, “Buy Now”, “Save For Later”. - LOGIN AND/OR CREATE ACCOUNT PAGE — This page is essential to turn your website viewers into returning customers. You can also provide some features such as “First Purchase Free”, or “20% Discount On First Purchase” to those customers who create an account in your online store.
- CART — This is the page where your customers save the products they want to purchase from your store. On this page, you will need to add details such as product price, shipping address, tax details, and payment options.
- CHECKOUT — Checkout is the most critical page because from here, the customers will proceed with the payment of the product. If you wish to add a promo code option, then you can add it here.
- MY ACCOUNT PAGE — This page will be helpful for your registered customer to check/edit their profile information. You can also add a “History” section here from where your customer can view and manage their past orders and details.
- PRIVACY POLICY AND TERMS & CONDITIONS PAGE — These pages are crucial to have on your e-commerce website. Compose a responsible privacy policy page and add essential guidelines to your terms & conditions page.
STEP 9 — Add Your First Product

Congrats on creating your e-commerce store! Now it’s time to add your first product. There are two kinds of products that you can sell through your online store; physical products and digital products.
Physical products include tangible products such as furniture, gym equipment, arts & craft items, accessories, wireless car charger mounts, etc On the other hand, digital products include intangible products such as services, courses, eBooks, software, music & videos, etc.
You can choose to sell either of the two kinds of products, or you may choose to sell both of them.
To create a product, go to your WordPress dashboard, hover over “Products” and click on “Add Product”. After you click it, you will see WordPress’s Classic Editor that will be divided into 8 sections.
Let’s go through these 8 sections in detail.
1. PRODUCT NAME — Here, you need to add the name of the product.
2. THE MAIN PRODUCT DESCRIPTION — The large box below the Product Name section is where you will need to add the detailed description of the product.
3. PRODUCT DATA SECTION — This is the section where you will need to add the type of product you are selling, whether it’s a physical product or a digital product.
Following are the various tabs in this section:
- General — Here, you will need to set the price and tax of the product. Let’s set the price as $18.
- Inventory — Here, you can add SKUs (Stock Keeping Units) and manage your stock levels.
- Shipping — You need to set the weight, the dimension, and the shipping charge of the product.
- Linked Products — This is a great place to add complementary products for upsells. For example, “Customers who bought this also bought that”.
- Attributes — Through this section, you can add custom product attributes to variable products, e.g., if you’re selling custom hoodies, you can set alternative colors and size options.
- Advanced — Additional settings such as purchase notes and reviews. These settings are not essential; you can skip this part.
4. PRODUCT SHORT DESCRIPTION — Here, you need to add a short description of the product that will get displayed on the product page under the product image/name.
5. PRODUCT CATEGORIES — It is necessary to categorize the product you are selling, and you can do it from this section. The product will be displayed under its respective category on the Category Page of your website.
6. PRODUCT TAGS — It is an additional way to organize your products. You can skip this step for now as it is not essential.
7. PRODUCT IMAGE — Here, you will have to add the main image of the product that will be displayed on all the pages and also on the search engines
8. PRODUCT GALLERY — Through this, you can add other images of the product. This is optional, but it’s recommended to add other related images.
Once you have filled all the 8 sections, go through them once again and hit the blue “Publish” button. You have created your first product for your store. Bravo!
Now to view the product you have created, just hover over “Products” on the left panel of your WordPress dashboard and click “All Products”.
STEP 10 — Add Complimentary E-Commerce Plugin

Even though WooCommerce is the best plugin for creating an e-commerce website along with Jetpack, here is a list of a few additional WordPress plugins that can add more features to your e-commerce website and help to increase sales and growth for your business:
- YOAST SEO — Yoast SEO is one of the best plugins available to enhance your SEO (Search Engine Optimization). SEO determines how well your e-commerce website will rank in the search engines.
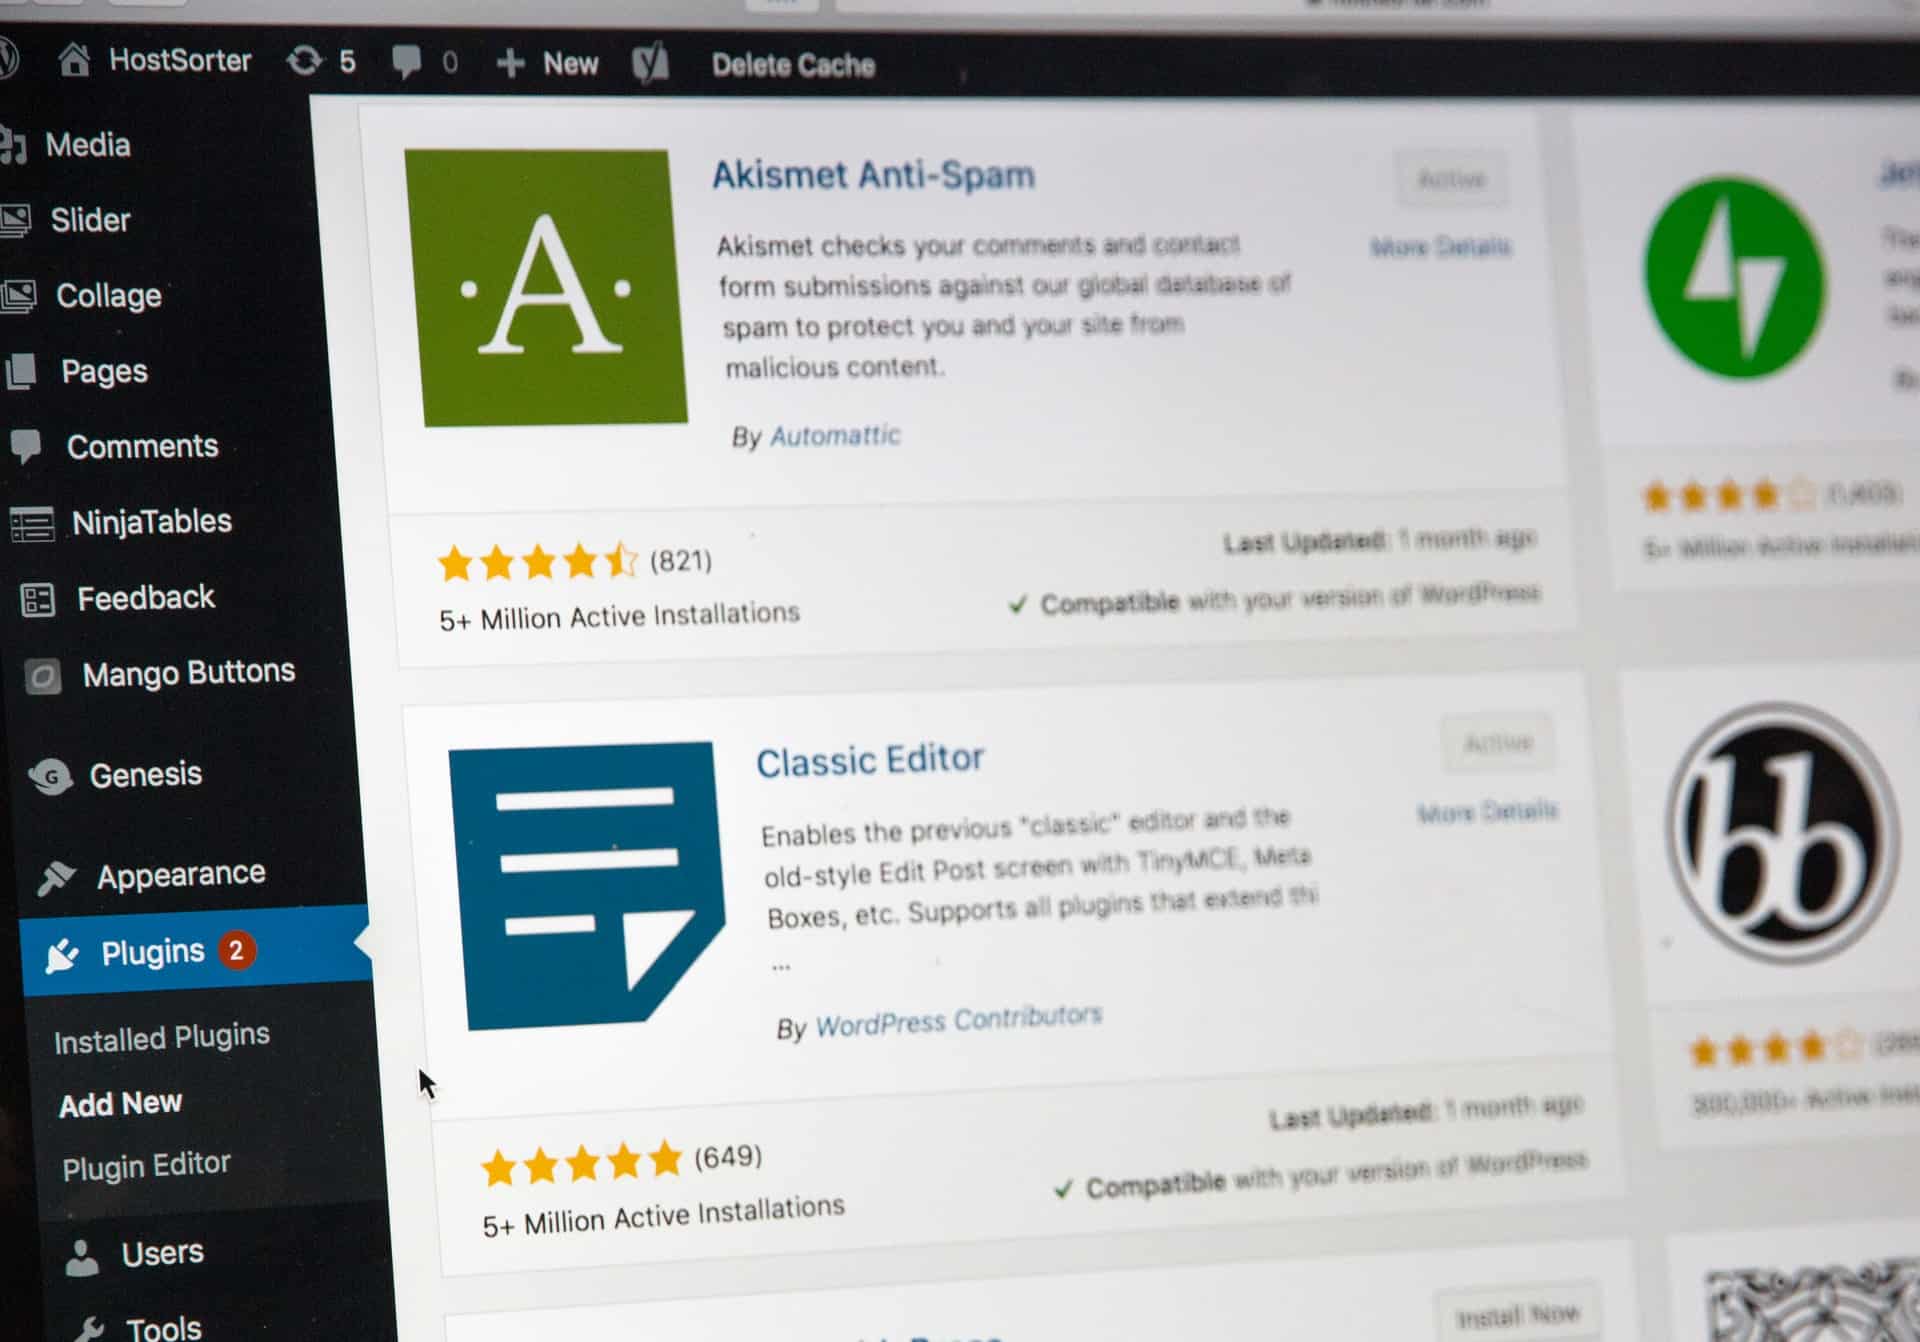
- AKISMET — Provided by Automattic, this is one of the best WordPress anti-spam plugins. Through Akismet, you can check your comments and contact form submissions to protect your website from spam and malware attacks.
- CONTACT FORM 7 — Through this plugin, you can create an attractive contact page so your site visitors can easily contact you.
- SOCIAL SHARE BUTTONS & ANALYTICS BY GETSOCIAL — This plugin provides social media share buttons on each page so that your visitors/customers can easily share a product on their social media.
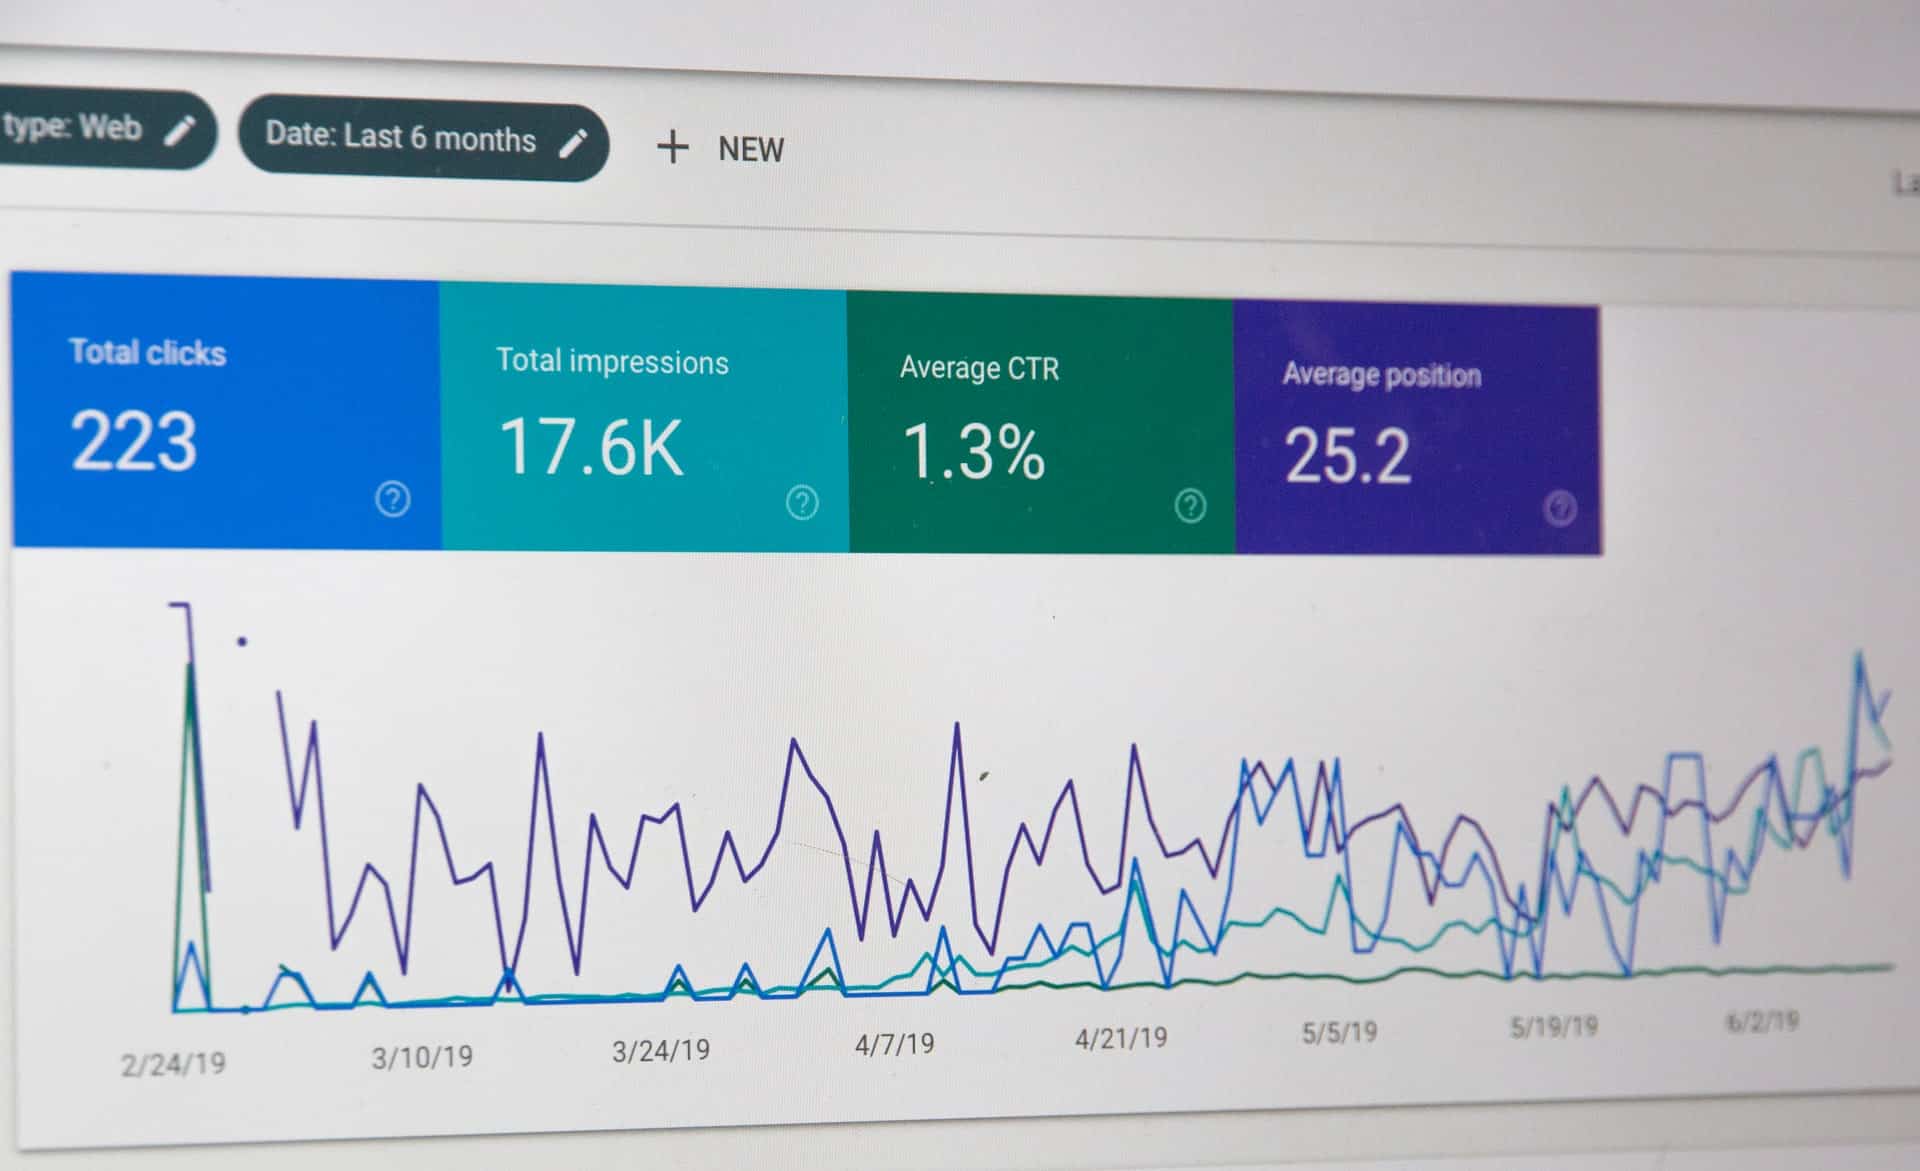
- MONSTERINSIGHTS — MonsterInsights is one of the best plugins to integrate your e-commerce site with Google Analytics. As this plugin is user-friendly, you can easily track the performance of your e-commerce website and see which products are performing well and which product or page needs improvement.
- W3 TOTAL CACHE — This plugin will help you to increase the speed of your website through caching. W3 Total Cache improves the SEO and enhances the user experience of your website.
- ADVANCED COUPONS FOR WOOCOMMERCE COUPONS (FREE) — This is one of the best WooCommerce coupon code plugins available. The free version of this plugin provides various features to make your online store’s coupons better.
STEP 11 — SEO and Content

Kudos to you for reaching this far and creating your own e-commerce website. Now it’s time to work on the SEO and improve your website’s performance in search rankings.
SEO, which stands for Search Engine Optimization, plays a major role in drawing organic traffic to your website. The quality and quantity of content on your website plays a crucial role in SEO.
You need to attract audiences with your content. Your content has to be unique, attractive, well-written, and informative so that your visitors engage with your site and sign up from the login page and become your customers.
You will need to create attractive product descriptions, meta descriptions, appropriate page titles, and product names and also include alt tags in all images you upload.
SEO is a vast concept, and there is no need to rush with it. Do it at your own pace and improve the performance of your website. There are various guides on the internet related to SEO, and there are even some specific guides for SEO of an e-commerce website. You can even take help from digital marketing agencies to improve the SEO of your website to perform well in the search rankings.
Using Yoast SEO will be the best option to increase SEO performance.
20 Best E-Commerce WordPress Themes Available for Free
Now that you have created your own e-commerce business using WordPress, it is time for you to bring life to your website through design and content.
Below you will find a list of the 20 best e-commerce WordPress themes available for free.
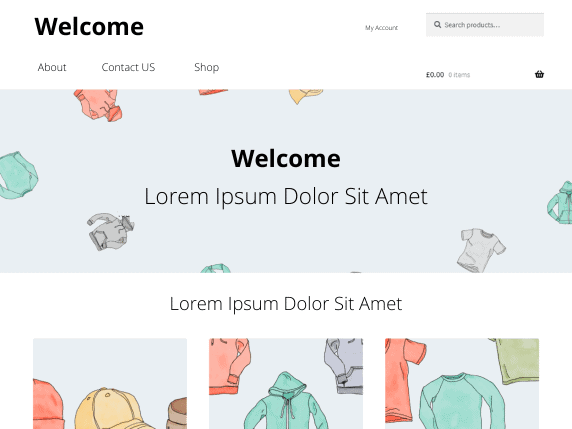
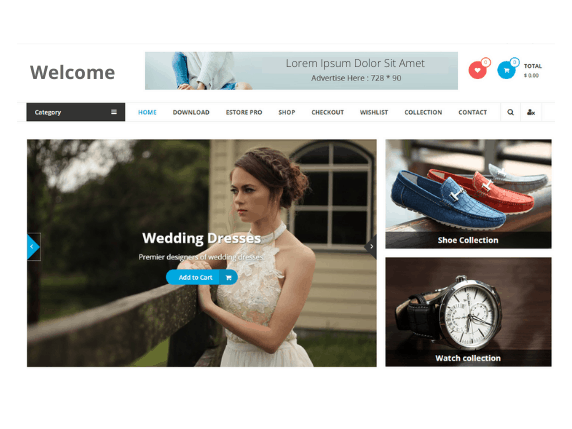
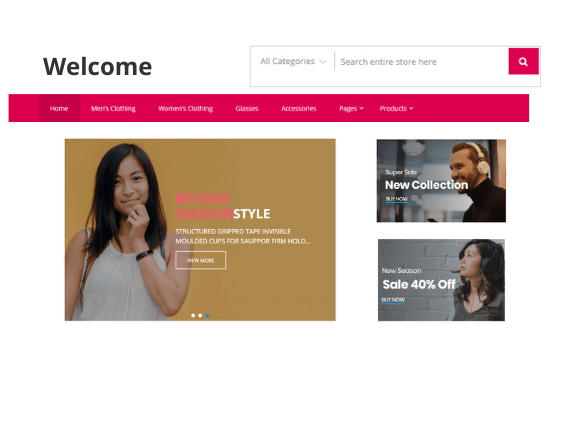
THEME 1 — Blossom Shop


Blossom Shop is a good, clean, simple, and free e-commerce WordPress theme to create an online store. This multipurpose theme includes various features used to highlight your products and give focus to a user-rich experience.
MAJOR FEATURES:
- Responsive Layout
- SEO and Mobile Friendly
- Banner with Call-To-Action
- Multilingual and supports RTL
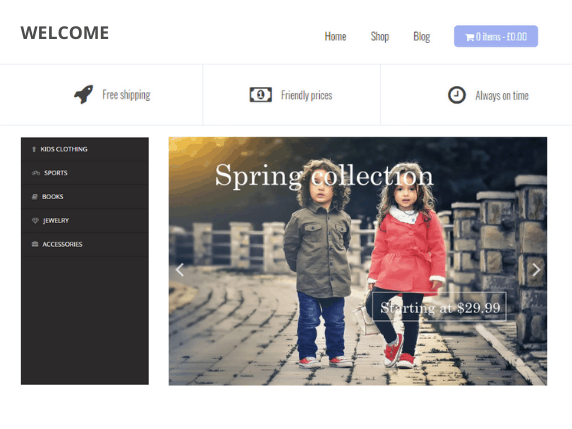
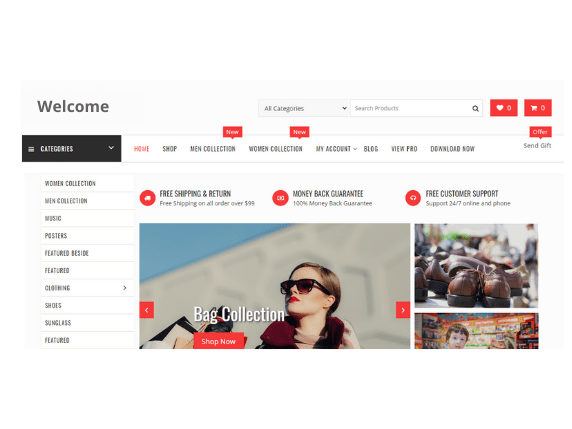
THEME 2 — Storefront
The Storefront theme is one of the best free e-commerce themes available for WooCommerce. It comes with a clean, simple, and modern design that was designed by the same developers behind WooCommerce.
MAJOR FEATURES:
- WooCommerce Integration
- Responsive Design
- SEO Friendly
- Multiple Widget Options
THEME 3 — TheShop
Through this theme, you can instantly create a simple e-commerce WordPress website for free. It comes with responsive layouts and works well for both beginners and professionals.
MAJOR FEATURES:
- Compatible With WooCommerce
- Responsive Layout
- SEO Friendly
- Compatible with numerous Plugins
THEME 4 — Zakra
Give your e-commerce website a classy look with Zakra. This theme is fast, lightweight, and flexible, giving your website a professional and classy look.
MAJOR FEATURES:
- Compatible with WooCommerce
- SEO Friendly
- Compatible with Elementor and other page builders
- Easy to use on mobile phones and tablets.
THEME 5 — EightStore Lite
EightStore Lite is one of the best free e-commerce WordPress themes available for online stores. Its user-friendly customization option lets you create your store with beautiful color combinations and organized content.
MAJOR FEATURES:
- Responsive Design
- Easy Customization
- YouTube Video Integration
- SEO and Mobile Friendly
THEME 6 — AccessPress Store

AccessPress Store is a free WordPress theme that works well with WooCommerce. It will give a professional look to your online store. This theme provides lots of exciting features that will make your e-commerce experience good.
MAJOR FEATURES:
- Product Slider With Animation
- Full Boxed Layout
- Various Category Display Layout
- Responsive Design
THEME 7 — 99fy

99fy is an elegant free WooCommerce WordPress theme that comes with a fast loading time and responsive design. Guess what? This theme includes 99 homepages, and you can easily create pages using Elementor.
MAJOR FEATURES:
- Compatibility with Elementor and other drag-and-drop page builders
- Responsive and Fast Loading
- Create Custom Templates Using WooLentor
- Lightweight and SEO Friendly
THEME 8 — eStore
This is a great free WordPress e-commerce theme that is clean and beautiful. It comes with an easy customization option and provides various custom widgets to make the e-commerce store look professional.
MAJOR FEATURES:
- Compatible with WooCommerce and YITH WooCommerce Wishlist
- Works best for bigger online shops
- Responsive Design with Call-To-Actions
- Ad Spaces
THEME 9 — Modern Store

This free e-commerce WordPress theme comes with a clean, simple design and supports both WooCommerce and Elementor. Give an aesthetic look to your website through this plugin. Modern Store provides numerous features that make it one of the best plugins to sell any items.
MAJOR FEATURES:
- Compatible with Numerous WordPress Plugins
- SEO Friendly
- Responsive Design
- Best for selling any kind of products
THEME 10 — Online Shop
This is a powerful theme rich with multiple features that work best for online stores. With its high customization options, you can build any kind of online store, and it is easily compatible with WooCommerce.
MAJOR FEATURES:
- Advanced custom widgets
- Responsive Design
- WooCommerce Integration
- SEO and Mobile Friendly
THEME 11 — eCommerce Market

This is a free WordPress e-commerce theme that is widget-based and suitable for online stores of any market type. With easy navigation, it provides a rich responsive design to fit all screen types.
MAJOR FEATURES:
- Easy Navigation
- Responsive Design
- Multiple Customization Options
- Fast Loading and SEO Friendly
THEME 12 — eCommerce Gem

eCommerce Gem is a stylish free WordPress e-commerce theme. This is a perfect example of a multipurpose theme, ideal for building any kind of online store through WordPress.
MAJOR FEATURES:
- Responsive Layout with multiple color combinations
- Multipurpose Layouts
- Compatible with WooCommerce
- SEO Friendly and Fast Loading Speed
THEME 13 — City Store

City Store is a simple, lightweight free e-commerce plugin based on WooCommerce. Through this theme, you can easily create your desired e-commerce website of any kind.
MAJOR FEATURES:
- Clean and Lightweight
- Best for building pages for your website.
- Multipurpose Layout with a fast loading speed
- Numerous Customization Options
THEME 14 — Multicommerce
This is a free multipurpose e-commerce theme that provides a simple yet dynamic design to your e-commerce store. It comes with various features and customization options to build your preferred online store.
MAJOR FEATURES:
- Dynamic design with responsive layout
- Advanced customization options
- Multipurpose Layout
- Advanced Custom Widgets
THEME 15 — WP Store

This is one of the best free e-commerce WordPress themes available. This theme gives a clean, appealing look to your online store with full-width boxed layouts for your homepage.
MAJOR FEATURES:
- Responsive Design with rich Call-To-Actions
- Ticker for product promotion and news
- Custom widgets
- Rich customizable homepage
THEME 16 — CosmosWP

CosmosWP is one of the best free multipurpose WordPress themes available to build any kind of e-commerce website. With easy customization options and flexibility, you can create an appealing fast-loading e-commerce store.
MAJOR FEATURES:
- Compatible with WooCommerce and various page builders
- Easy customization with extremely fast loading
- SEO Friendly
- Multipurpose Layouts
THEME 17 — Zigcy Lite
This plugin gives a stylish look to your online store. It provides high customization options and flexibility.
MAJOR FEATURES:
- Highly customizable homepage
- Responsive Layout with Lead Generating/Conversion Elements
- WooCommerce integration
- Product and content search
THEME 18 — StoreVilla
StoreVilla is a stylish free WordPress e-commerce theme, best for building an online store through WooCommerce. It comes with a lot of features and functionalities that will make your store load faster and optimize SEO.
MAJOR FEATURES:
- Powered by WooCommerce
- Compatible with page builders and numerous plugins
- Built-in customization tools for designing
- SEO Friendly
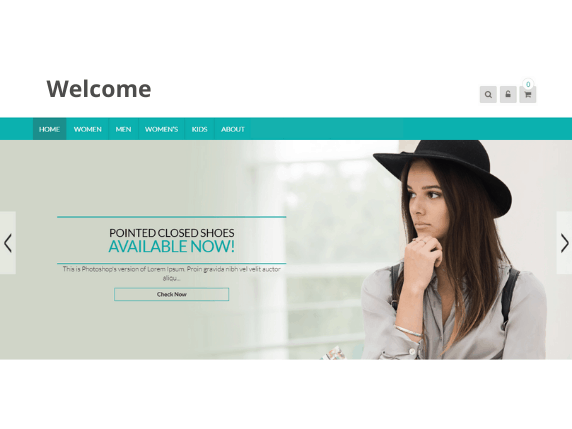
THEME 19 — Orchid Store

This is a clean, stylish, and flexible e-commerce WordPress theme. With its various built-in features, it gives the flexibility of creating any kind of e-commerce stores like furniture stores, jewelry stores, grocery stores, and various other online stores.
MAJOR FEATURES:
- Flexible Customization
- Compatible with Elementor and various other page builders
- Special menu header
- WooCommerce Compatible
THEME 20 — Leto
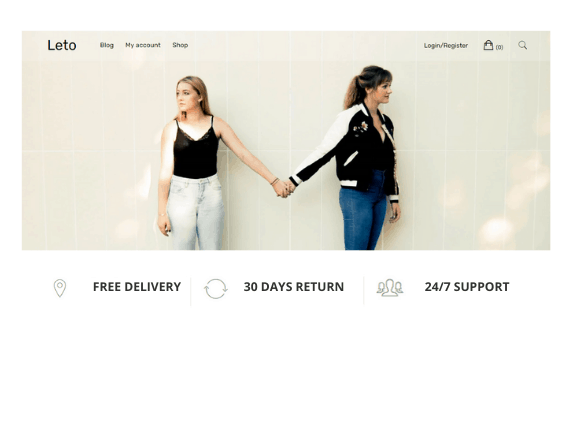
This is a free e-commerce WordPress theme that works well with any kind of online store. It comes with a simple and user-friendly interface that will put your store’s products and promos in the spotlight.
MAJOR FEATURE:
- WooCommerce integration
- Responsive design
- SEO Friendly
- Compatible with various page builders.
Conclusion
Through this article, we have walked you through an easy step-by-step guide on how to start an e-commerce business using WordPress. We have also provided you with the 20 best e-commerce WordPress themes available for free so that you can bring life to your website design without the need for any coding or designing.
WordPress, along with the WooCommerce plugin, is one of the best options available today to create an online store, and with the themes provided in this article, you can create your desired online store with dynamic design and provide a user-rich experience to your site visitors.
With our step-by-step guide, we aimed to make your work easy, but if you face any problem, then you can take help from others who already have an online store running, or you can simply take help from various digital marketing agencies. Just don’t stop; go ahead and make your first online store.